El Bongo
Standard Member
- Joined
- Feb 3, 2026
- Messages
- 26
- Reaction score
- 32
- Points
- 15
- Location (town/city + country)
- Northamptonshire
- Driving
- MGS6
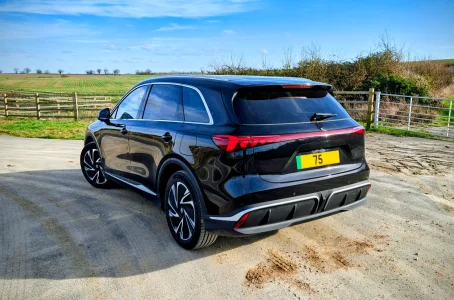
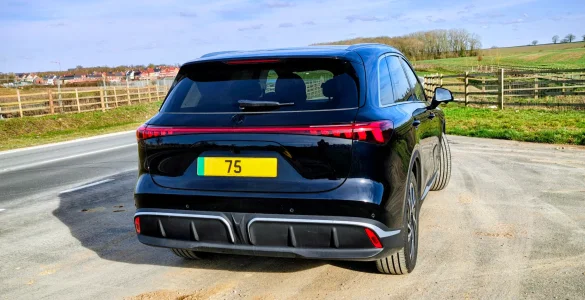
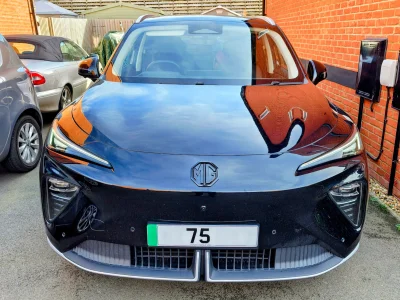
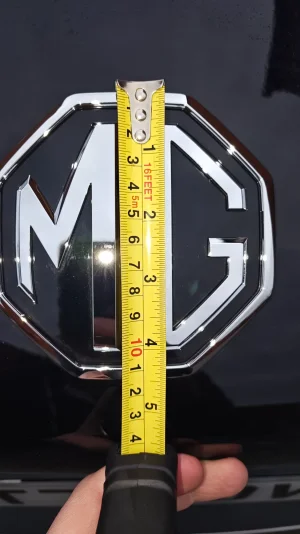
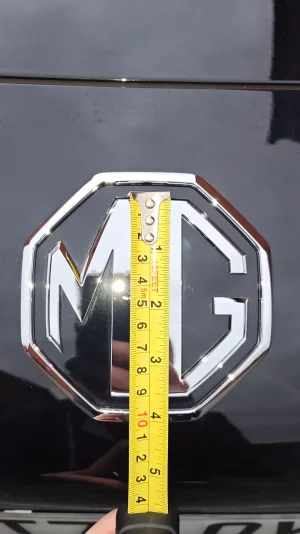
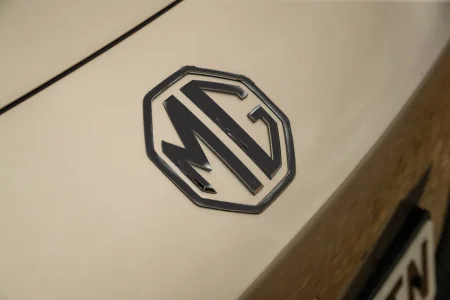
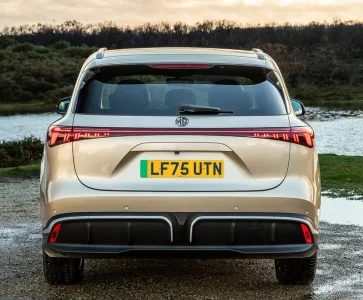
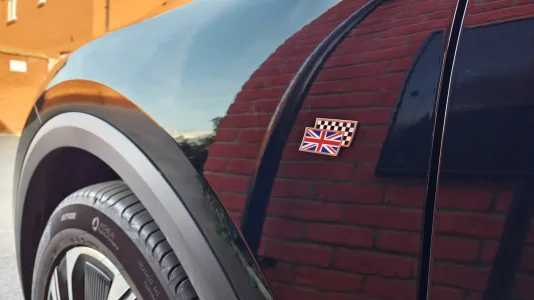
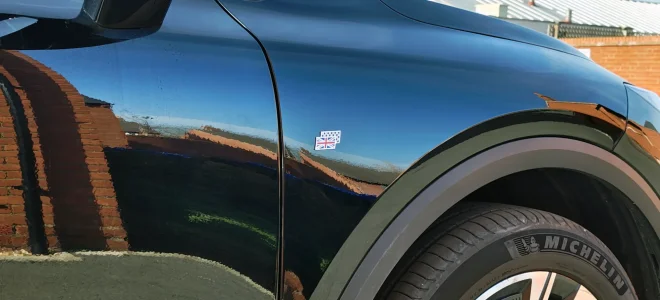
Tried something subtle today – removed the chrome badges and swapped the MG logos for gloss black.
Wasn’t sure how much difference it would make, but on a darker spec it feels a bit cleaner and more cohesive.
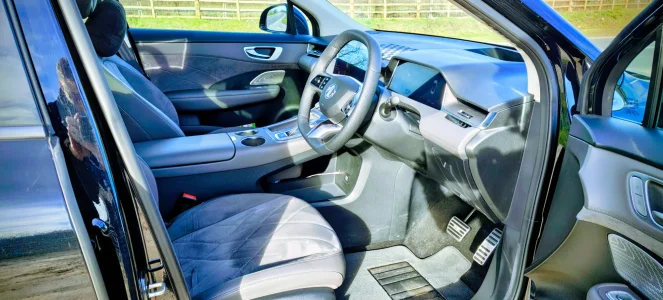
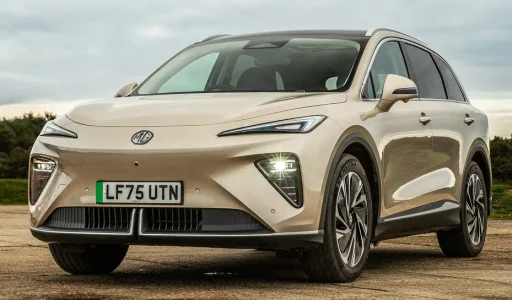
Front and rear shots below, plus a couple of interior pics for context.
What do you think – subtle improvement or should I have left it factory?
Wasn’t sure how much difference it would make, but on a darker spec it feels a bit cleaner and more cohesive.
Front and rear shots below, plus a couple of interior pics for context.
What do you think – subtle improvement or should I have left it factory?
Attachments
-
 IMG_20260224_135229461_HDR~2.webp196.9 KB · Views: 41
 -
 IMG_20260224_145107169_HDR~2.webp293.7 KB · Views: 34
 -
 IMG_20260224_145114722_HDR~2.webp270.4 KB · Views: 35
 -
 IMG_20260224_145139054_HDR~2.webp495 KB · Views: 35
 -
 IMG_20260224_145159810_HDR~2.webp611.2 KB · Views: 34
 -
 IMG_20260224_145248609_HDR~2.webp374.3 KB · Views: 35
 -
 IMG_20260224_150116798_HDR~2.webp504.1 KB · Views: 33


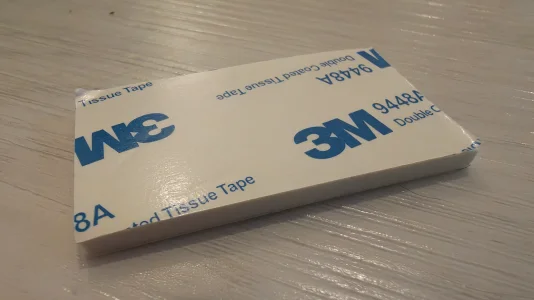
 What You’ll Need..
 Removal Process
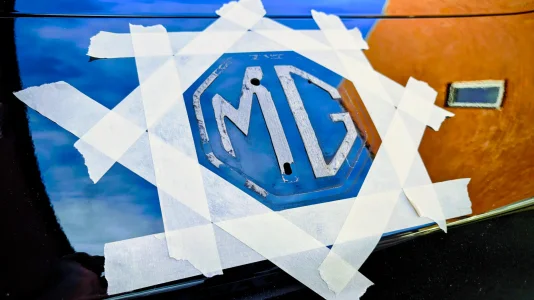
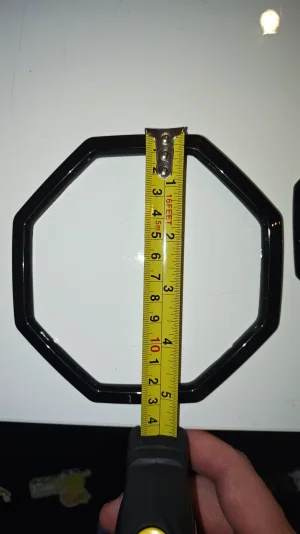
 Mark the Position
 Remove the Old Badge
 Do not use wire — it will damage the paint.
 Remove Adhesive Residue (The Tricky Bit)
 Do not use your fingernails — the bumper paint is very soft.
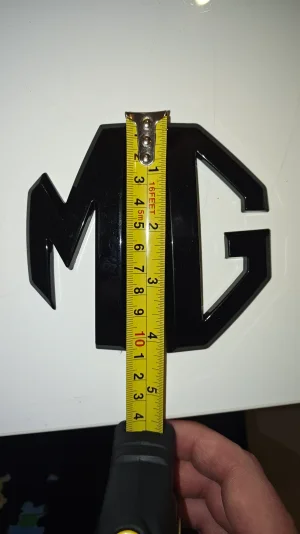
 Refitting the New Badge
 Fitting Order (Important)