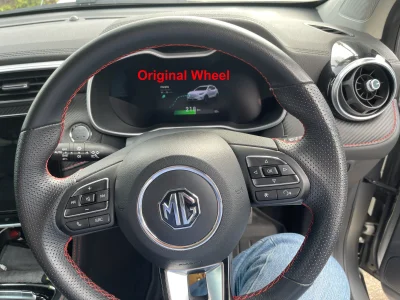
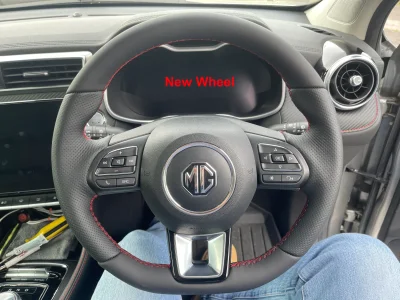
How did you get the steering wheel off? I would like to do the same, as you said the wheel is poor quality. Where did you take it if you mid me asking looks like a quality job.
Hi,
I got it done by a woman in Dublin, near me. My brother had his GTI wheel done by her before so I knew she was good (
Steering wheels Dublin).
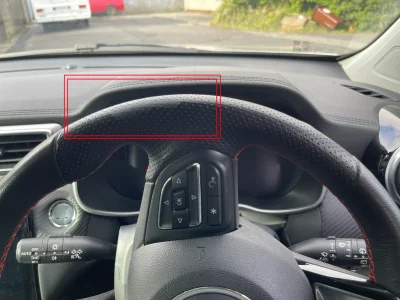
To take the wheel off is a job, it took me a few attempts before I got it off completley.
Disclaimer:
I am not a mechanic. I do not work for MG. Do this at your own risk. I am not responsible if your wheel comes off while driving!
Removing the airbag! DISCONNECT THE 12V BATTERY (BOTH TERMINALS) BEFORE DOING ANY OF THIS!!!
Behind the steering wheel, where it bolts to the colum there are 3 holes you need to access, you need to start with the left or the right side first, do both sides and then the bottom to get it off, there is a clip inside the wheel that you have to use a small flat screwdriver to push the clip and release that section of the wheel, this took me a few attemps for each side (I'd release one side and then push it back in trying to release the other side!):
If you see in each hole there is a clip that has to be pushed inward to release that part. My advise is to get a small compact mirror (got one from my daughter) put it in front of the speedo so you can see what your doing (and may be a torch as well). Oh, and put a cloth down on the top of the column so you dont scratch the plastic.
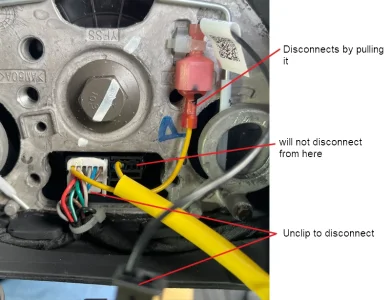
Once you have the airbag released you can disconnect the horn cable (black by unclipping it from the wheel side).
The steering wheel controls unclip from the colum side
The red spade connector just disconnects by pulling it.
NOW! THIS IS THE MOST IMPORTANT PART - THE AIRBAG CABLE!
It dosnt unclip like a normal cable
It wont unclip from the steering colum side either so dont try and force it! its hard connected to the steering column.
It unclips from the airbag on the wheel!
Important! Important! Important! Important! Important! - I cannot stress this enough, if you break the clip your done! you may need a new cable and possible airbag as well! GO SLOW, GO Gentle. You do this at your own risk, this was the part that scared me the most.
The yellow and black clip is held onto the airbag with the red tab, the red tab locks the yellow clip in place. It being the airbag the manufacturer doesnt want you being able to removing it.
MAKE SURE YOU HAVE YOUR 12V BATTERY DISCONNECTED BEFORE DOING THIS!!
I couldnt get the red clip out so what I did was find the smallest flat screwdriver and slowly and gently slide it under the clip, and slowly and gently push the entire clip up and off the airbag and it all came off in one go.
Once you have that off your airbag is free to sit on the passenger seat!
After that then your just left with the main bolt (16mm if I remember right). I used an impact driver to remove it and reattach it, mine is marked with white to show its original position so I was able to impact drive it back to that position. Once you remove the bolt the steering wheel should just pull off. The wheel controls are just push fit in place and easy to remove.
Reverse the above when putting it all back together. Be Careful with the airbag connection!
The steering wheel only goes on one way as there are 3 keys to line up on the connection\column.
Best of Luck - Again, be really careful with the airbage cable!
")