? 56! Spring Chicken!
I'm damn near 57 myself, and really feeling it of late.
Its all I can do to pop a wheel off the car lately.
Knackered.
I really like what you've done m8.
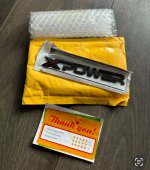
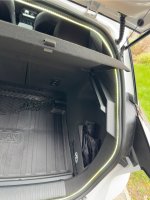
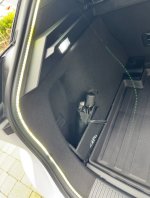
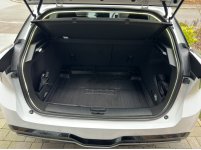
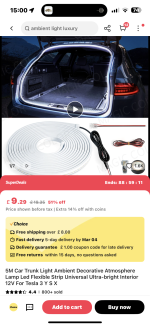
When you open the hatch at night in public, folk are going to think a space ships turned up!
I can see me using some of that as an interior light, especially in the rear as a courtesy light.
Just depends how long the boot light stays on?
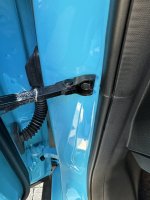
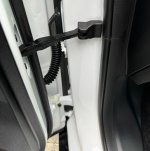
Great place to take the power from.
Thanks for the link.
Amazing how they do it for such a small amount of money.